
Exhibitor Scan Guide
Exhibiting at an event offers a valuable opportunity to connect with potential customers and partners. To make the most of your exhibition experience, it's essential to familiarize yourself with the various tools and features available to exhibitors.
In this article, you will learn on how to navigate the scan feature:
Read this guide in
| 中文 | ภาษาไทย | 한국어 | tiếng Việt | 繁體中文 | Bahasa Indonesia | 日本語 | Español | Portuguese |
Scan Access
Before we dive into how to navigate scan features, please note that there are two kinds of roles which can be assigned to the users when it comes to scanning access:
Admin Role
Admin role means a group of users will have the capability to trigger the sending of the Leads to the user's email whenever the user clicks the button. Only eligible users that are assigned as admin who are able to export the analytics.
Staff Role
Staff role or access means that an assigned group will be able to see the Leads which have been scanned, to edit leads' status or notes. However, Staff role/access does not allow them to export data.
Once the accesses are being setup, exhibitors or any scanner groups can refer to these steps below to operate the feature:
How to open QR code
Click on the QR that appears on your profile

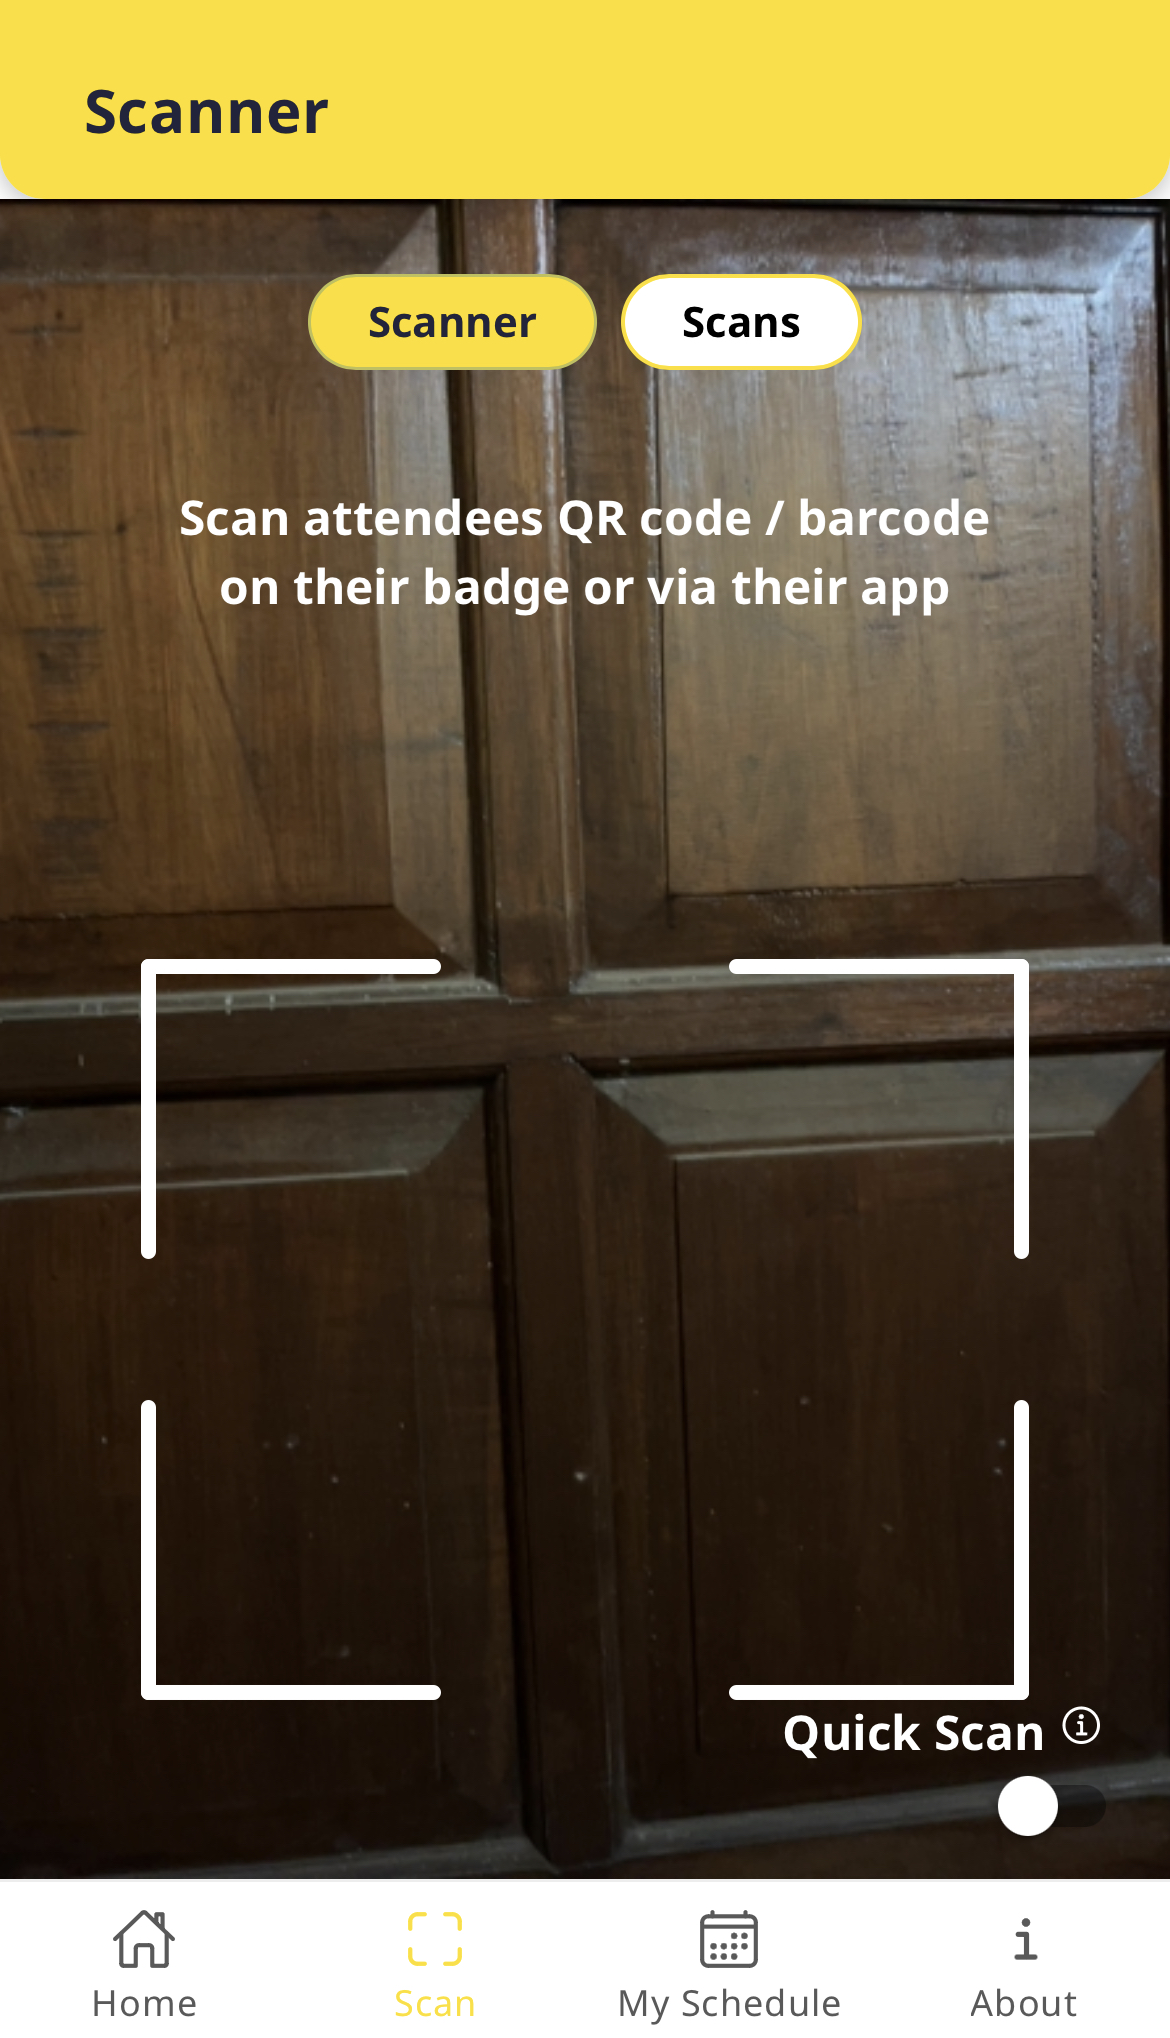
How to scan a QR
Step 1: Click on the Scan option at the bottom of your Event App
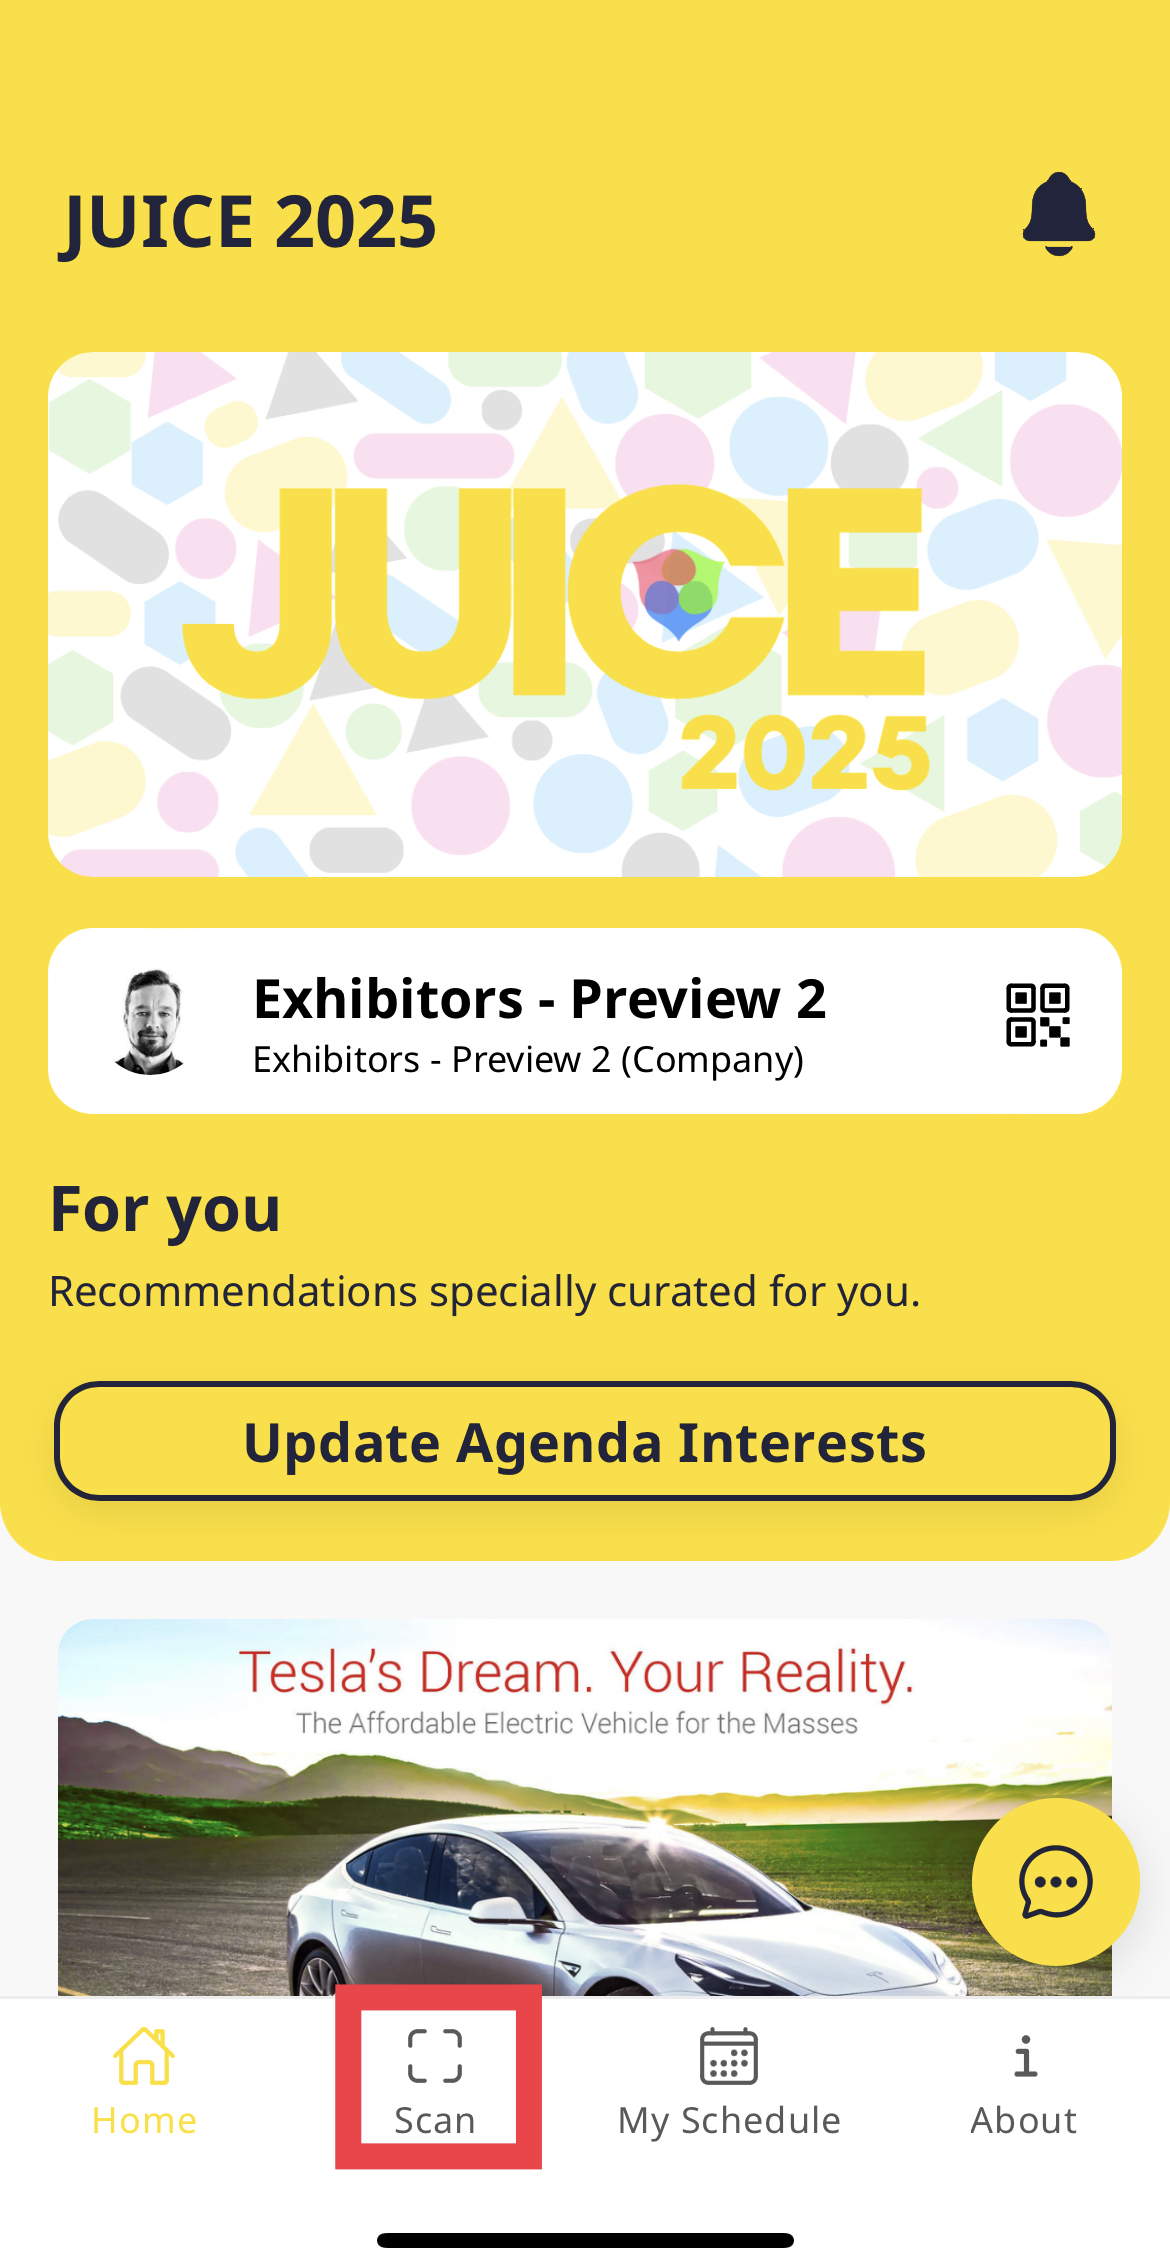
Step 2: Ensure you allow camera access. After which, point your camera at the attendee's QR Code


How to score your leads:
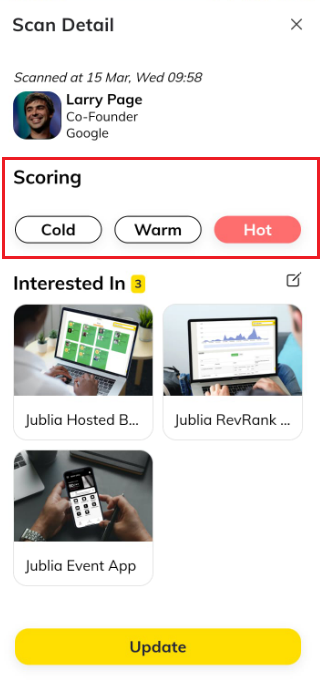
You have the ability to change the scoring: Cold, Warm, Hot OR Unscored
Lead Scoring Definitions
- Hot: Having BOTH
- The target person is inside scanner recommendation list
- The target person has product handshake interest towards one of our company’s products
- Warm: Having either one of the condition above
- Cold: Having neither of the above
- Unscored: The target person is not identified yet by the scanner or does not have any score
Default mode if scanner uses Quick Scan feature
- Update the interest
- Select and/or deselect those interested in your items
- Search available interest items by name/title
- You will be able to add quick notes about the scanned lead and make necessary adjustments (if required) later.

On this scoring part, you will be able to do the scoring related to the scanned badge. There are two conditions on this Scoring part:
- Pre-filled scoring based on intelligence.
- If the user skips the intelligence scoring, it will show the initial state. There are several components in this section which are:
1) Super lead, this component only shows if the user does not skip the intelligence part and our system determines this as a potential lead.
2) Scoring, this component can be predetermined by the system if the user does not skip the intelligence part, and the user can also choose on their own.
3) Interested in Your, this component will be prefilled by the system if the user does not skip the intelligence part and the system detect that this user already has some interested items so it will be preselected: Select Interests Model, this model will show if the user is clicking the edit icon. This section will accommodate the selection of interests items
Scan Details
This page will show after users are clicking a card from the scan list. This page is almost identical to the scoring section, the only difference is if the system detects the user profile it will render the profile to this scan detail page. And at this page, users are able to modify the value that was previously already submitted. There are some noticeable components on this page which are:
- Scanned at the date, this will refer to when the scan occurred
- The profile section will show the profile picture, job title, and company name of the profile associated with the scan itself. If no data is associated with the scan, it will show the QR placeholder and text placeholder.
- Last modified date, this will refer to the date when the user is updating this item
- The company section will show a company card that shares the same component across modules on the Native app. It will only show if there is data associated with the scan itself.
- The scoring section will show the value that was submitted previously. Users are able to change the value.
- Interested In, this will show the value that was submitted previously. Users are able to modify the value by clicking the edit icon
- Show interest selection
- Note: This will show the value that was submitted previously. Users are able to modify the value by clicking the edit icon
How to sync data
- List Scans, this component will show a list of scanned items. Separated into two types
- Synced, means the data is already stored on the server
- Unsynced, means the data is still on the device (local) and not yet stored on the server
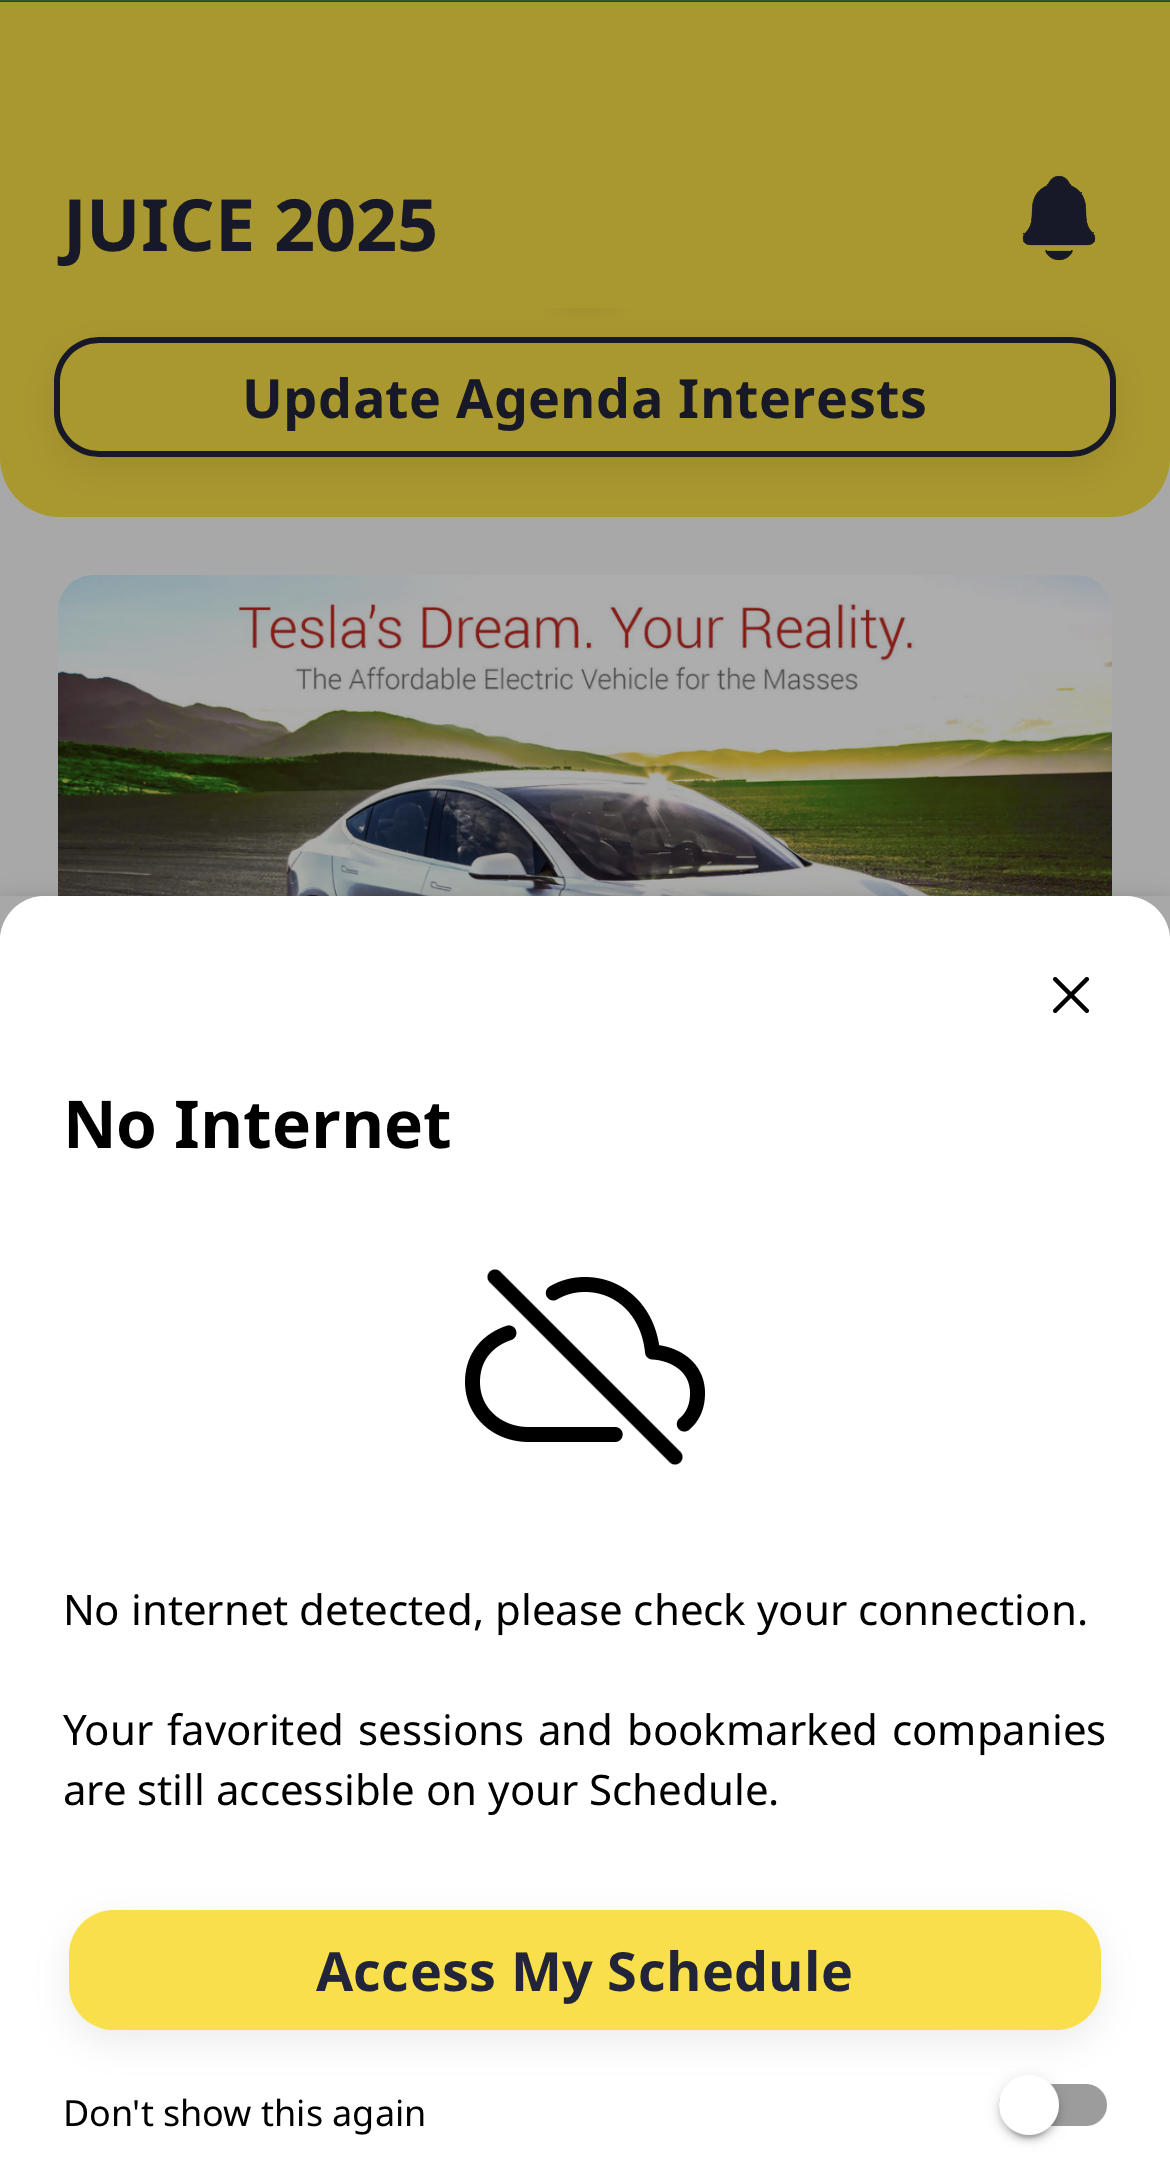
Offline Mode: You will still be able to scan the lead's QR code if you have (1) Network Disruption or (2) No Internet Connection. The lead which you have scanned would be classified as unsynced data. The app would prompt you that you do not have an internet connection.
Unsynced data will be indicated as follows. To sync all your data, click on the Sync option


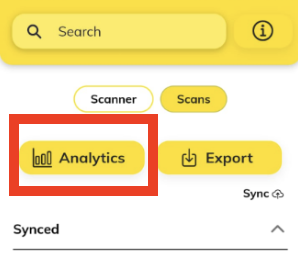
How to access scan analytics
Click on the Analytics tab
- You will be able to view the analytics from Me and My Company


How to export and download your leads
Click on the Export button

After this message pops up, click on Export button. You will receive the exported data to your registered email

This scan feature also incorporates 2 Way view, which means the scanned leads can also view who their badge scanner is. This will help the app users to enrich connection potentials.
Samples of Scanned By view from leads' access:

Related Articles: